Lost with Luis {Holiday Edition}: 3 ways to add a little zest to your holiday décor this year
Orange you glad the holiday season is here?
For anyone that knows me, Christmas starts the moment the clock strikes 12:01 AM on November 1st. While everyone is subject to their own opinions on whether that's right or not, I say: Why not celebrate something that makes you happy for as long as you can? Anyhow, I digress as that’s not the point of this blog post. ;)
This year, I decided to add a little zest to my Christmas décor. Once upon a time, oranges were considered a luxury Christmas gift for the average family, and they were often saved for special occasions like holidays. Fast forward to my childhood where oranges became symbolic for me. Growing up in Florida we were surrounded by endless fields of oranges. I have a tattoo of an orange on my arm that serves as a symbol of my fond childhood memories of road trips with the family. A close family friend – to this day - sends us Florida Oranges for Christmas every year. You get the picture. Oranges are both awesome and nostalgic for me. They give me a retro yet tasteful, ‘back-to-basics' vibe that brings me back to my childhood. And that's exactly what I love about Christmas - it's all about the nostalgia!
Here are 3 ways to add a little (orange) zest to your holiday décor this year.
1. Orange Garland: In no way can I take credit for this idea. I stumbled upon it on Etsy several months ago, however I must say that in the last few weeks, I've been seeing this trend emerge on several Holiday decor ads. This super fun, easy DIY is a great way to add some colour to your garland.
Here's how to do it:
1. Heat oven to 200-250 degrees F. I would personally start with 200 degrees as every oven is different and you don't want to burn them.
2. Slice oranges in 1/4" slices. Once sliced, I recommend blotting the slices gently to remove some of the excess juice.
3. Place the slices on a parchment lined baking sheet.
4. Bake for about 3-4 hours. Note: several different sites have different timing recommendations and every oven is different, so I suggest keeping an eye on them. Flip the slices over every 1.5 hours.
5. Once the slices are ready and have cooled off (I let them sit over night), use some twine and tape it to something like a toothpick so that you can thread it though the slices.
6. Enjoy!
The end result!
TIP: Don't throw out the odds and ends of the oranges! We're going to put them to use later!
2. Orange Wreath: This wreath was fairly simple and I made it with leftover slices from the garland. Essentially, you want lay out the oranges on parchment paper so that they form a circle and then you can use a glue gun to start layering the oranges and binding them together. Do what feels right. Mine didn't turn out exactly how I wanted it to (I wanted it to be more of a perfect circle), but I am still happy with it. I finished mine off with a nice green ribbon from Michael’s and have it hanging in the kitchen.
3. Orange Accents for Presents: For the last several years, I have kept my wrapping and paper usage to a minimum and I like to use craft paper or brown boxes instead. I normally use pieces of spruce or any type of evergreen to add to the gift. I also use a sheet of actual birch to write on. I generally pick these from fallen birch trees in the summer. This year, i'll be adding some orange slices to make them pop a bit more. I am super happy with the result. Simple and classy.
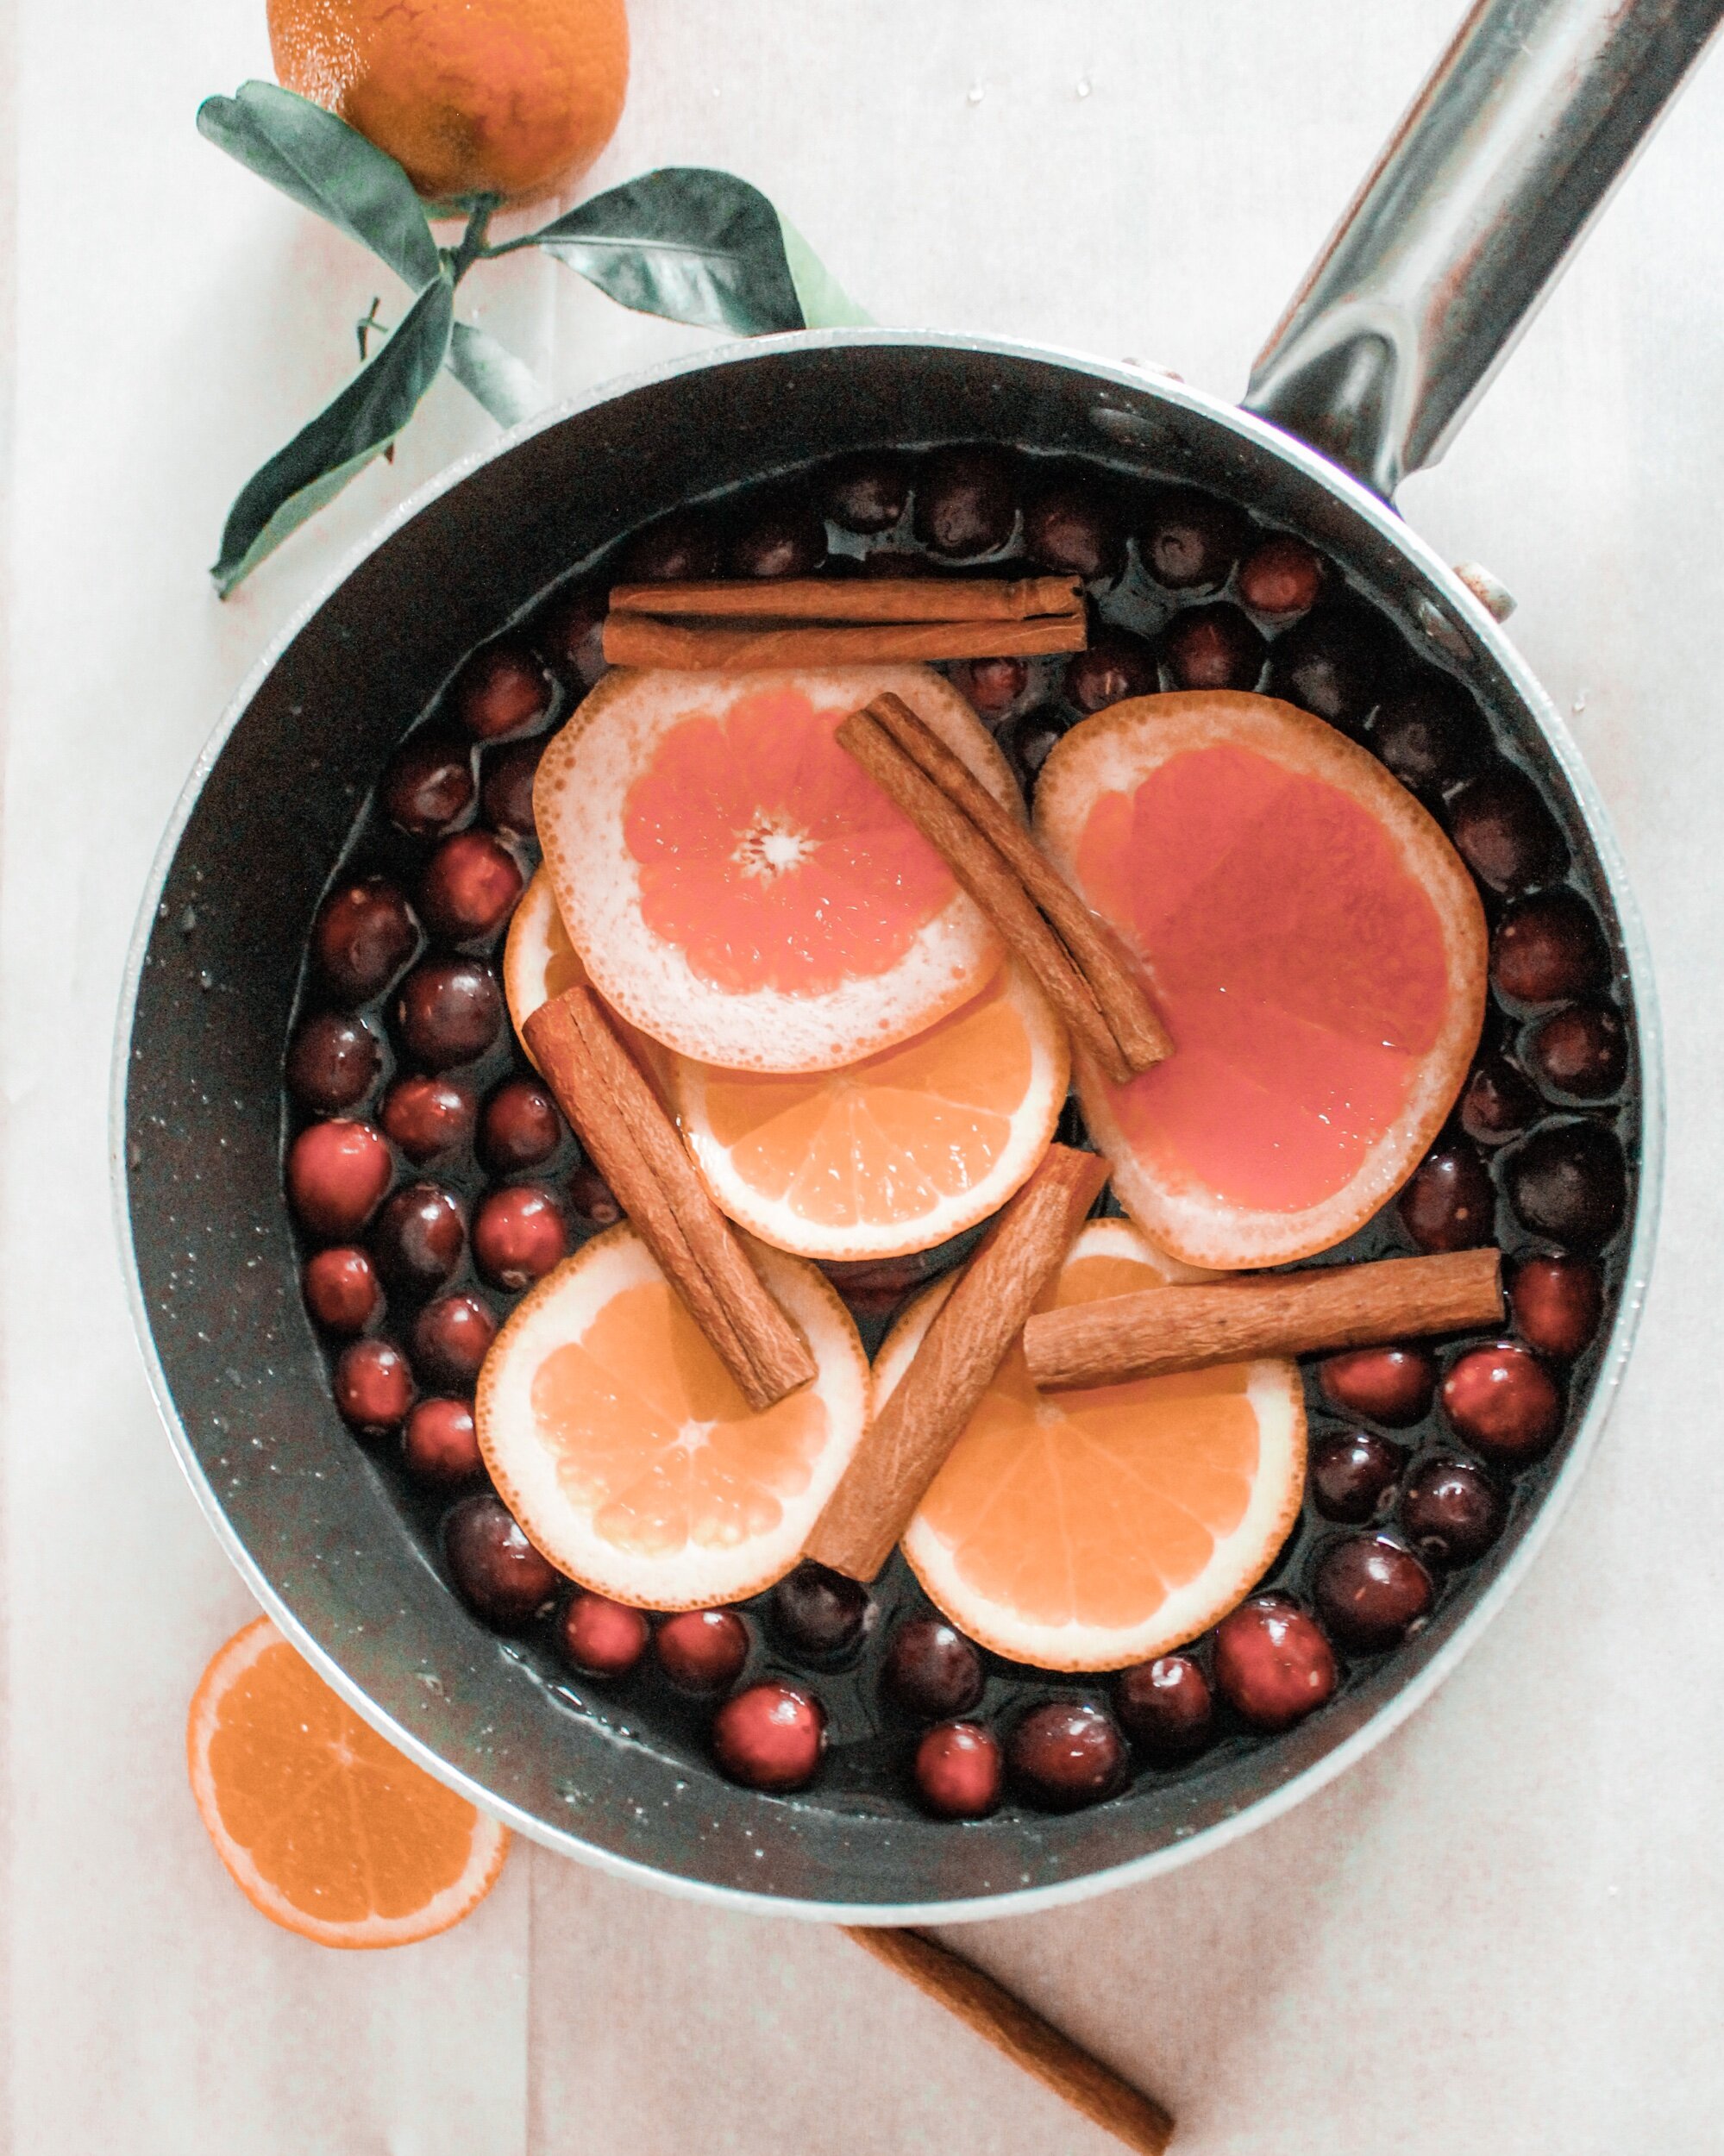
Ok, remember how I said to save the odds and ends of the oranges? I then took these ends and used them for holiday stovetop potpourri!
“What’s that?” you ask?
If you fill a medium saucepan with water, a handful of cranberries, a couple of cinnamon sticks and orange slices, you will have the greatest scent EVER. Simply add all of this to the pan, bring to a boil then simmer and you will fill your home with the most delicious, comforting scent. I pretty much have this scent going all holiday season and it's amazing.
Holiday stovetop potpourri
How do you plan on decorating this year? Comment below.


